How to Replace a Lawn Sprinkler?
This article will provide a list of steps that you can take to replace your lawn sprinkler.

Marie C.
Last Update hace 2 años
If you’re a homeowner or considering starting a lawn care business, you may need to replace ⛏️ lawn sprinklers 💧often. As landscapers ourselves, we’ve replaced many sprinklers. Here are the simple 8 steps you can follow to replace lawn sprinklers:
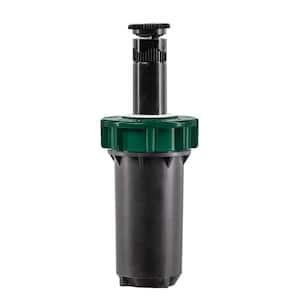
1) Know the sizes & types
You need to know what sizes of sprinklers you need to get. The most common types of sprinklers are 2-inch or 4-inch (height) pop-ups. Larger lawn sometimes has rotary sprinklers. The cost of the sprinklers varies, and we normally get the Orbit brands from big box stores like Home Depot or Lowe’s. The ones we get are in the range of $10 to $15 each. Rotary sprinklers are much larger and more expensive. There may be irrigation stores near you that sell sprinklers at a lower price you can check out.
2) Spraying pattern & distance
Depending on the location of the sprinklers, they could spray at different angles. There are usually 3 types of lawn sprinkler spraying angles. 90 degrees (right angle), 180 degrees (flat line), and 360 degrees (spraying all around). You can get sprinklers that are specifically designed for angle type. Some sprinklers are adjustable that can be changed to any spraying degree you want. It’s recommended to get the adjustable ones where you can more flexibility. There are also spraying distances to consider. The label of the sprinklers will tell you about the spraying distance, usually around 10-15 ft and up.
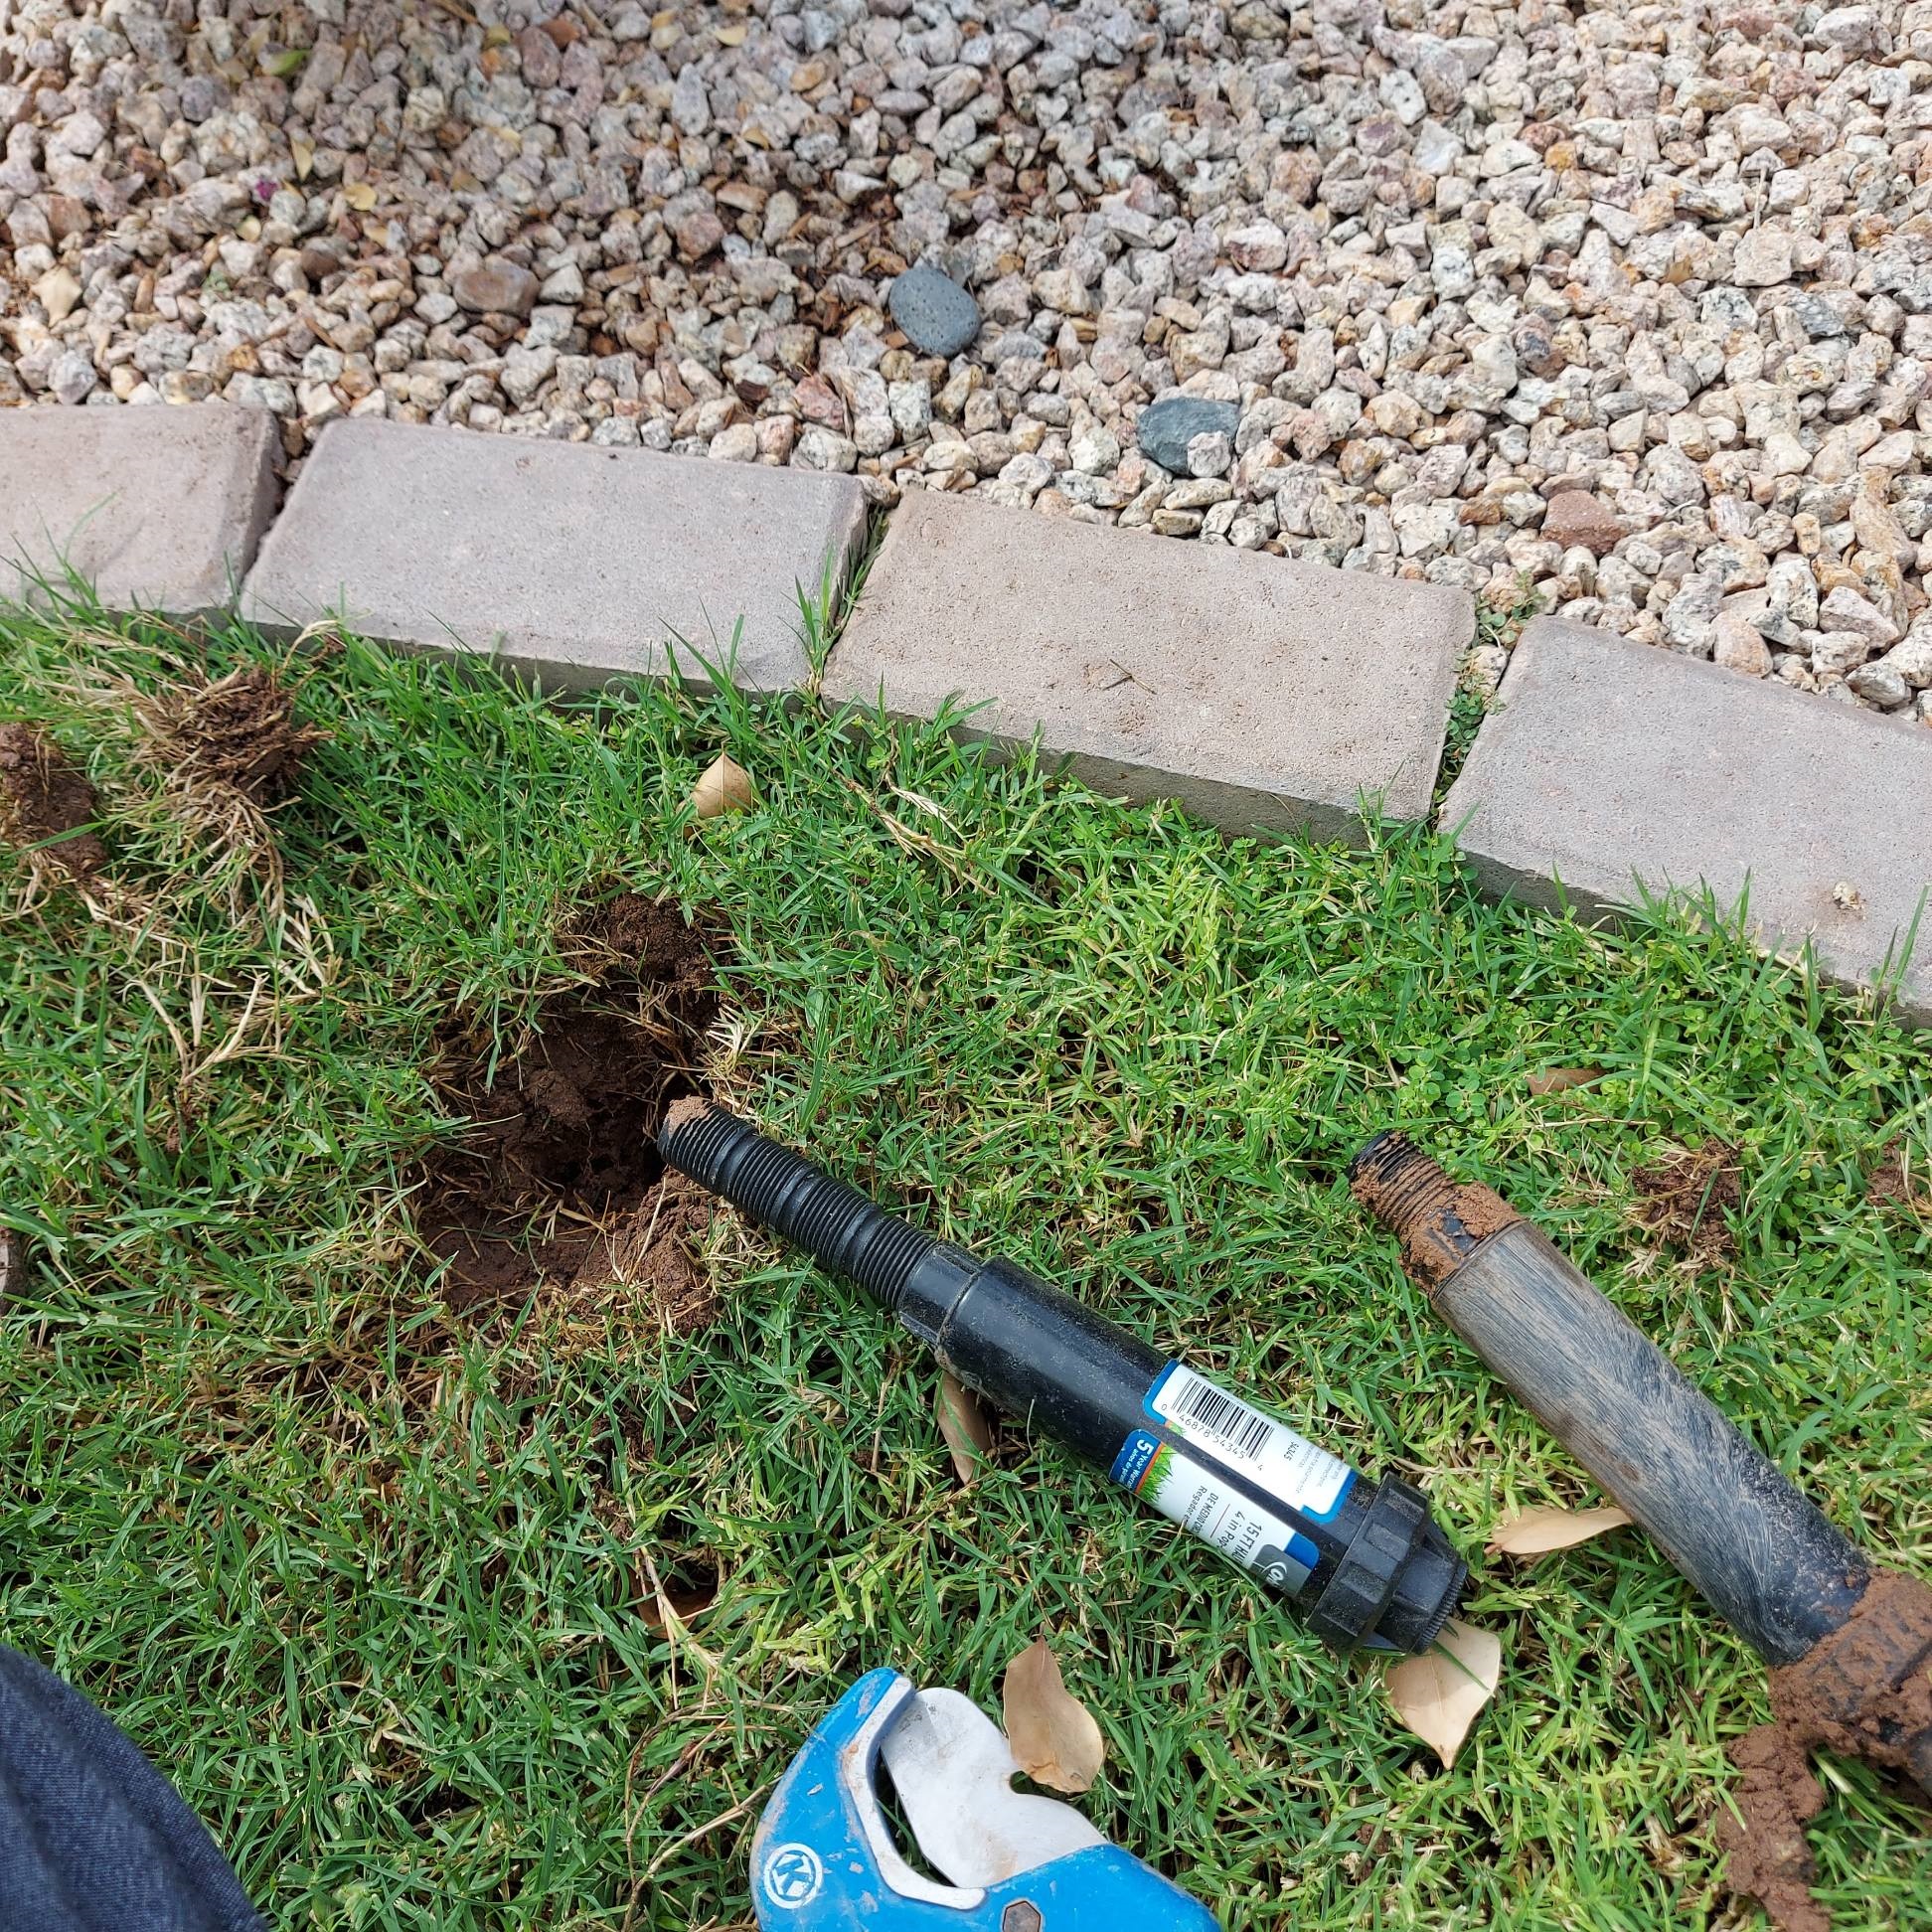
3) Riser
A riser is a part that connects the bottom of the sprinkler to the PVC threads that connect to the PVC pipe underground. Sometimes the risers are broken by lawn mowers hitting it, and that needs to be replaced. There’s usually one universal size of risers that fits all types of sprinklers.
4) Replacing it
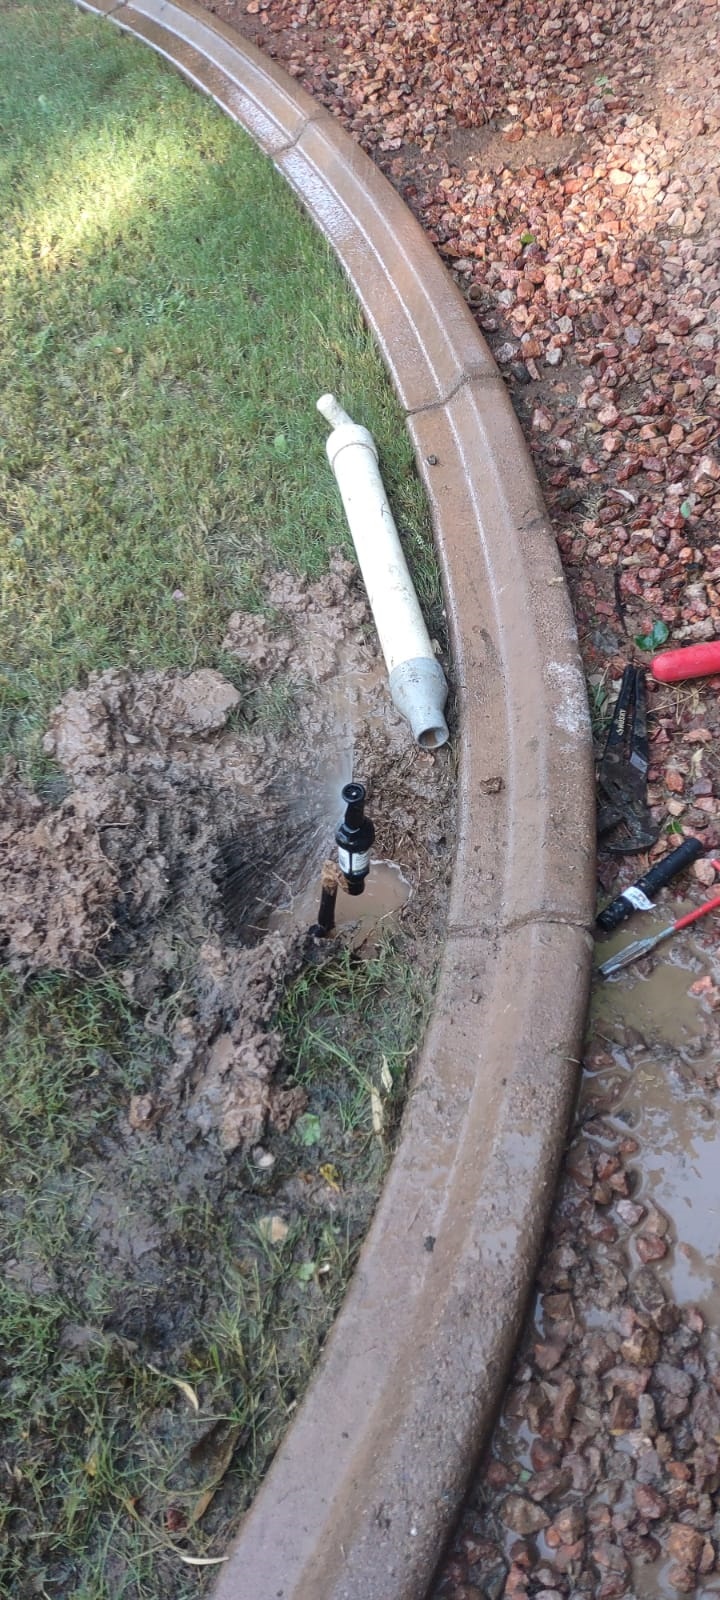
Locate the old sprinkler and mark its location. Now that you have the right sprinklers and parts, it’s time to replace it. Turn off the water supply or irrigation. To remove the old sprinklers, the easiest way is to use a wrench to turn the sprinkler counterclockwise. It’s not uncommon that when you turn the top of the sprinkler, only the top part of the sprinkler comes out, you may need to turn the main part of the sprinkler to remove it. Once it’s out, place the new sprinkler in the same location and turn clockwise to tighten it. You don’t need to tighten too much to avoid breaking the riser.
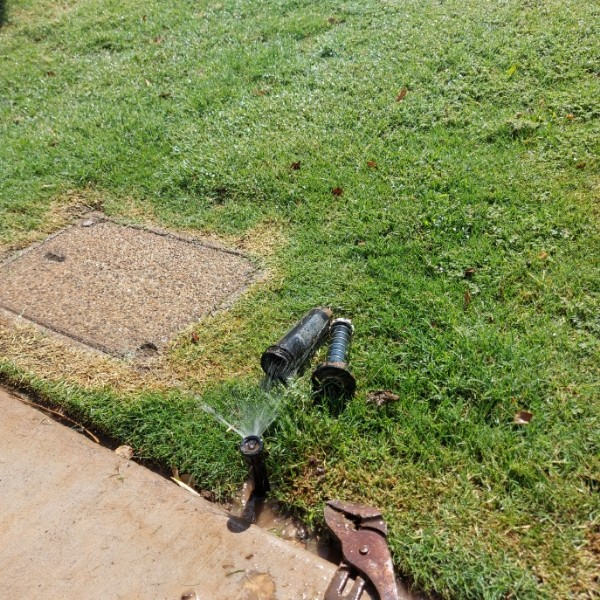
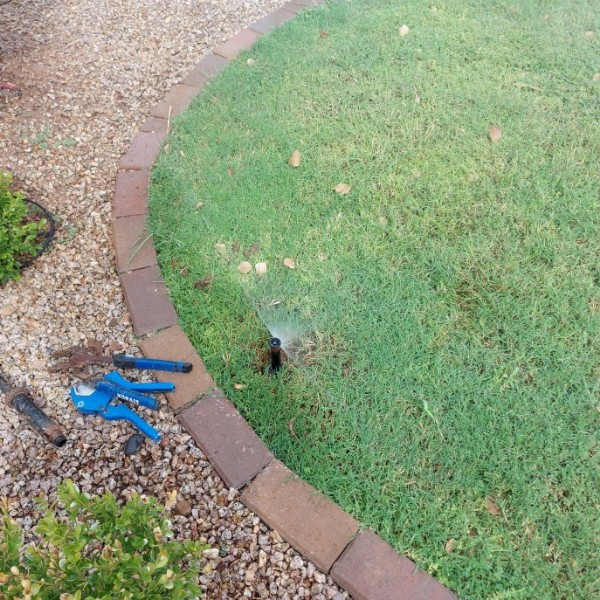
5) Testing it
Now, you can start the irrigation and see if the new sprinkler is popping up and spraying. Sometimes, the sprinkler pop and doesn’t spray. This is because there is dirt inside the sprinkler head. One simple way to fix it is to run the timer for 1 min while you’re at the timer, turning the nozzle of the sprinkler loose only by a little. As the nozzle started to come loose, the dirt inside the sprinkler will get flushed out. BE CAREFUL not to turn the nozzle too much, otherwise, the entire nozzle will come out and you will get splashed with water shooting up, yes, we have done that many times! It’s always better to have 2 people working on it if possible. One person turns on and off the irrigation while the other works at the sprinkler.
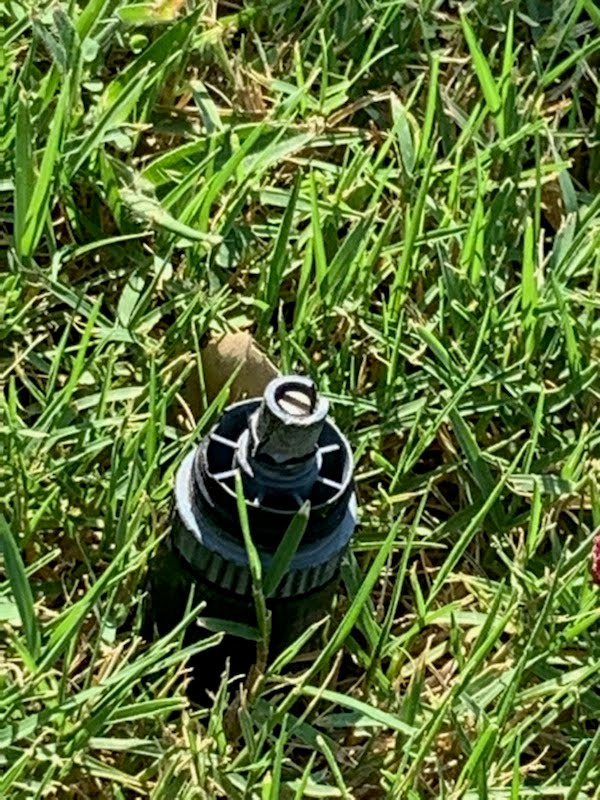
6) Just nozzle
Some sprinklers don’t need to be replaced entirely, and only the nozzle is broken. You can get just the nozzle at the stores. However, we found the price of the nozzle and the entire sprinkler is about the same. We almost always replace the entire sprinklers.
7) Adjustment
By now, your new lawn sprinkler should be spraying. If you need to adjust the spraying distance, most sprinklers have a top small crew you can turn to adjust the distance. Use a small crew driver and turn the top crew to adjust the distance. Rotary sprinklers have more adjustments available. In addition to the spraying distance, you can also adjust the spraying degrees.
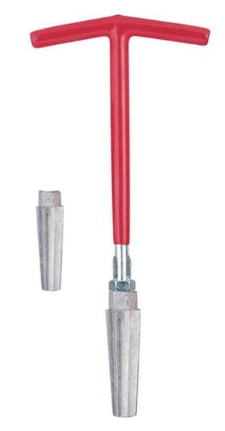
8) More tips
If you need to replace the riser, you will need a special tool called nipple extactor to take out the old riser first. You place the tool inside where the riser is underground, then turn counterclockwise. The old riser should come out with it. You can then install a new riser to the bottom of the sprinkler then install it back to the PVC thread.
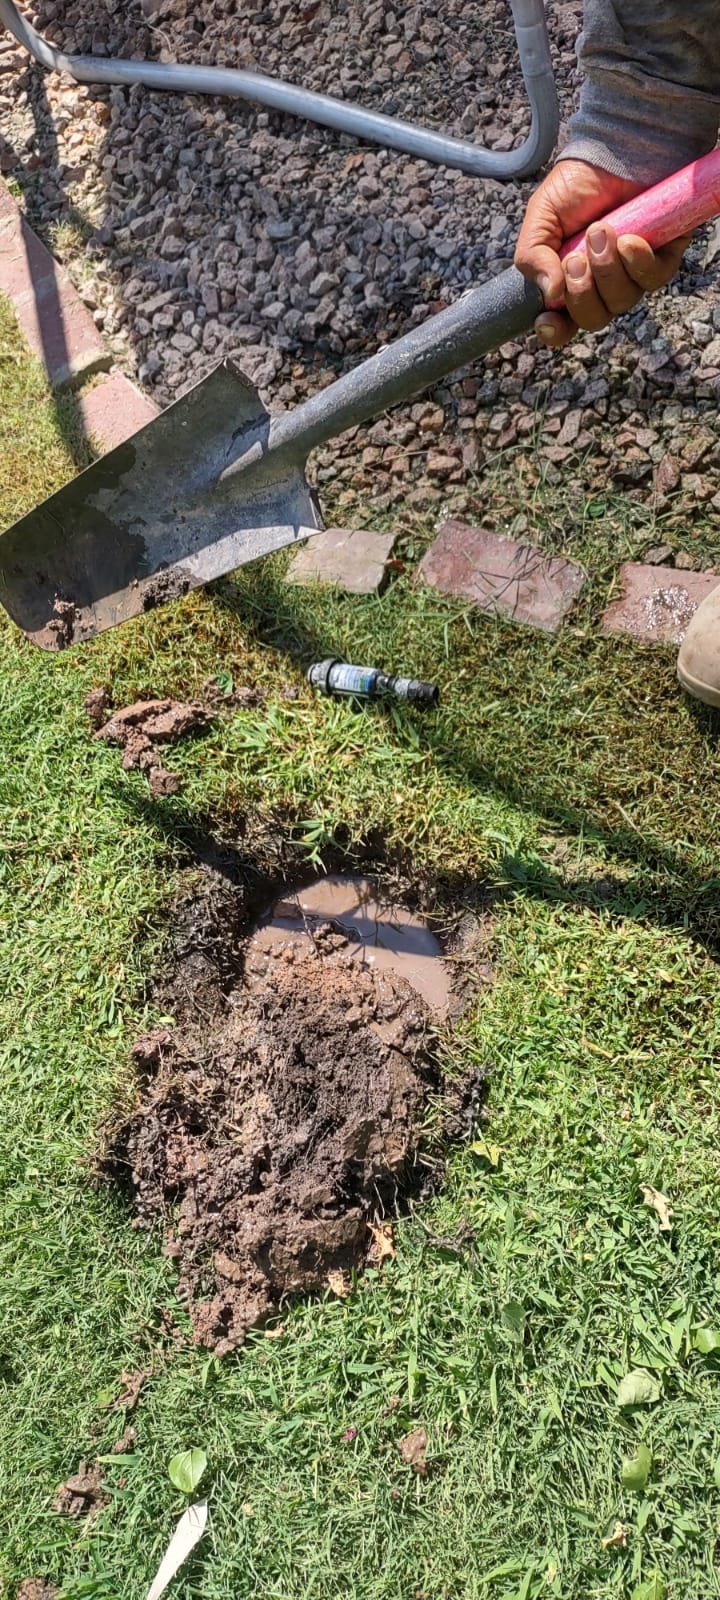
Sometimes the lawn sprinklers are in a tight spot where you can’t just use a wrench to turn. In this case, you may need to dig out the lawn surrounding the sprinkler to create more space. It could get messy and after you replace it, place the dug-out lawn back in the original location. Most of the time, the lawn will grow back.
Other than normal wear and tear of the sprinklers, to extend the lifetime of the sprinklers, mow it with care. Try not to bump or hit it with the lawn mower. A sprinkler can last for years without much care needed.